

A story map is a visual plan of the steps a user takes to reach a goal, with the work needed for each step arranged underneath. Story mapping helps a team decide what to build first without losing the bigger picture. Instead of delivering a collection of disconnected features, you can plan a small version of the whole experience.
Picture a team building a food-ordering app. Its backlog contains restaurant search, discounts, saved cards and order tracking. Every item sounds useful. Yet the first release still fails if someone can browse a menu but cannot place an order. A story map makes that missing connection visible before the team spends weeks building the wrong slice.
This guide covers agile user story mapping, not geographic story maps or the story maps used in reading lessons. It includes a worked example, a reusable template and a practical way to cut a first release. The example is hypothetical; it is not a claim about a real company’s process.
1. What is a story map, and why use one?
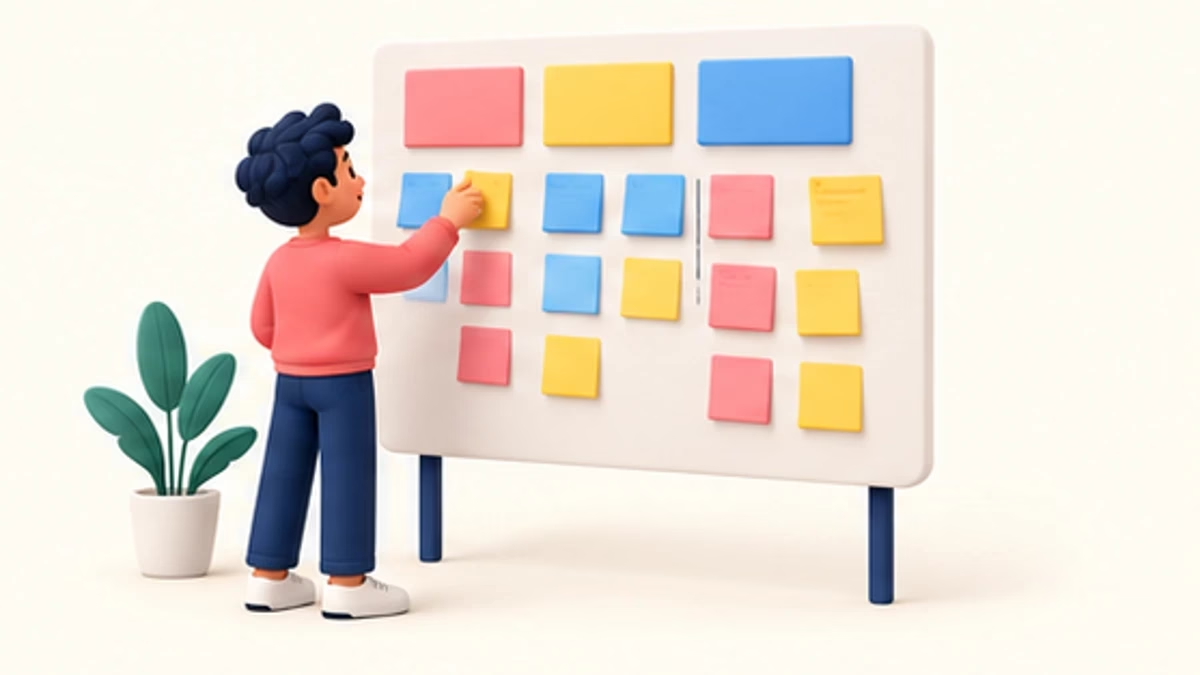
A story map puts the user’s sequence across the page and alternative or more detailed stories below it. Read horizontally to understand the experience. Read vertically to discuss how much support a particular step needs and which version matters first. The map is a shared conversation aid, not a replacement for research or a complete specification.
The Agile Alliance definition of story mapping describes these two dimensions: activities in roughly the order a user performs them, and stories ordered by priority or increasing sophistication. Jeff Patton helped popularize this approach; his story mapping resources emphasize telling the user’s story together.
That fits the logic of agile development: deliver something useful, learn from it and change the plan. The map preserves context as individual stories move into development. It helps a designer see where a screen belongs and helps a developer notice that a proposed shortcut leaves a user stuck.
When mapping earns its time
Use it when several teams disagree about scope, a backlog has become difficult to explain, or the first release needs a defensible boundary. It also works for improving one existing workflow, such as account recovery. You do not need to map an entire platform to fix a small but important experience.
Mapping is less helpful when the work is a straightforward isolated change with an already understood outcome. Do not turn a typo fix into a workshop. For larger work, ask a sharper question than “What features should we add?”: What must a particular user be able to finish, and what is stopping them today?
A map cannot prove demand, forecast delivery dates or guarantee adoption. Those require separate evidence. Its value is exposing assumptions while they are still cheap to question.
2. Story map vs backlog, journey map and roadmap
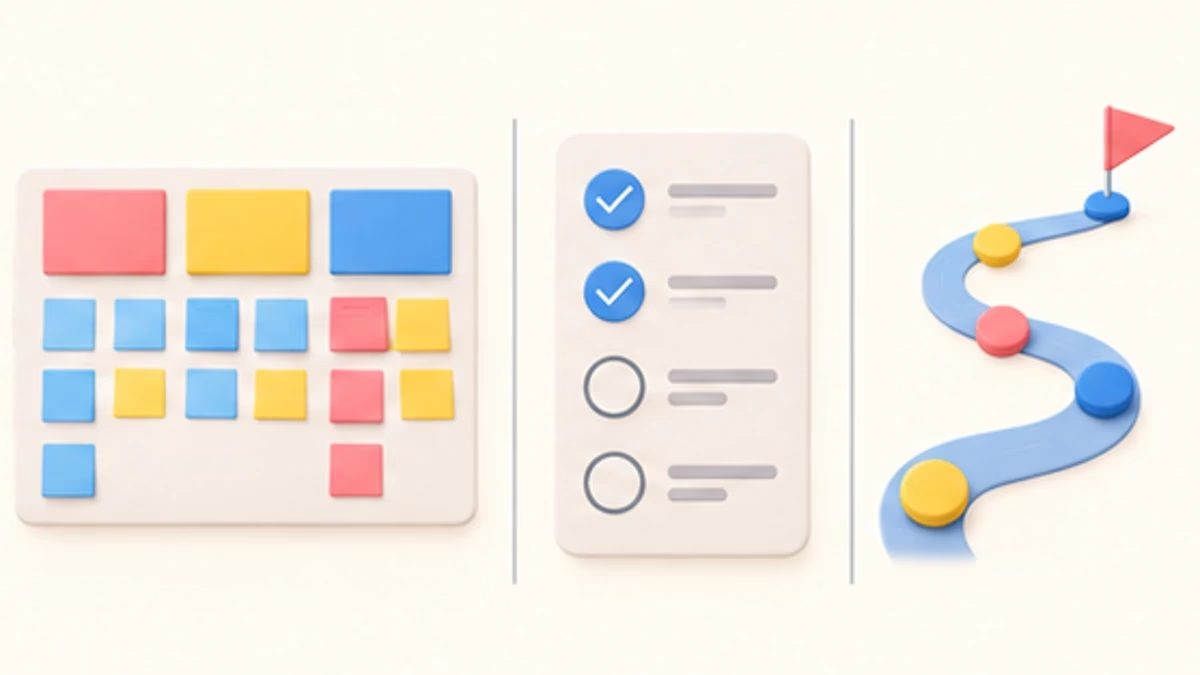
These tools answer different questions. Confusion starts when a team uses the same board for research, release promises and daily work. Before drawing anything, agree on the decision the map should support. A story map is especially useful for connecting user flow to delivery scope.
A journey map might show that customers feel anxious after payment because they cannot tell whether the order was accepted. The story map turns that finding into possible product steps: confirm the order, show its status and explain what to do when confirmation fails. The backlog then holds the buildable work and its acceptance criteria.
Nielsen Norman Group’s explanation of user story maps makes this distinction between understanding an experience and outlining what a digital product should support. The tools can work together; neither should be treated as automatically more valuable.
Do not assume a map means abandoning every other planning method. Our comparison of agile and waterfall project approaches is useful when deciding how much of the delivery plan needs to be fixed early. Even when a project has firm milestones, a map can reveal that a milestone’s feature list does not support a complete user task.
Keep roadmap commitments separate from rough map ideas. A sticky note below a release line is an option, not a promise that customers will receive it next month.
3. The anatomy of a useful user story map

A readable map separates broad activities, concrete steps and detailed stories. Different teams use different labels, so agree on the meaning rather than arguing about terminology. The important point is that the map moves from the user’s purpose to smaller pieces of work without becoming a diagram of your departments.
Activities and steps form the backbone
Activities are broad goals such as “Choose a meal,” “Place an order” and “Receive the food.” Steps break these down into actions: browse restaurants, review a menu, choose items, enter an address and confirm payment. Put them in a sequence that makes sense to the user. If the experience branches, show the alternative rather than forcing everything into one straight line.
Details sit beneath the relevant step
Under “Choose items,” you might place select a portion, remove an ingredient and add a note. Keep these as short action phrases while mapping. Later, turn selected cards into stories with user benefit and acceptance criteria. Not every card needs the full “As a user…” sentence during the workshop.
Release lines describe usable slices
A horizontal release line separates the stories needed for one usable version from those deferred. This is not a rule that every column must contain the same number of cards. It is a test of whether the chosen stories let the target user finish the intended task.
Make assumptions visible with a different marker or label. Distinguish “customers need guest checkout” from “we think guest checkout will reduce abandonment.” The latter is a hypothesis. Teams comparing app development services can use this distinction to explain what is known and what still needs discovery.
Technical work still belongs in the plan. Link infrastructure, security and integration tasks to the user steps they enable, or keep a clearly connected supporting lane. Hiding them makes the map look simpler while making delivery less honest.
4. How to run a story mapping workshop
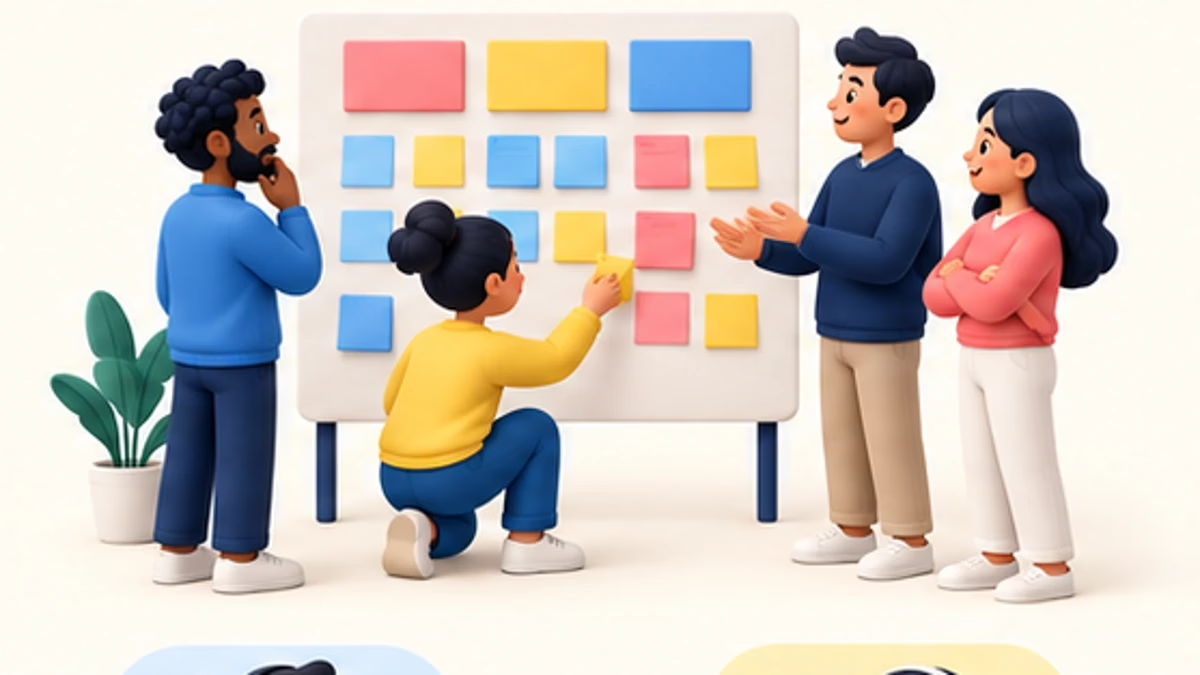
Start with one user, one goal and a clear boundary. “Improve ordering for first-time customers in one delivery area” is a workable scope. “Map our entire marketplace” usually is not. Bring existing research, support issues and examples of the current workflow so the discussion does not rely only on the loudest person’s opinion.
Prepare the people and evidence
Invite product, design, engineering and testing perspectives. Include someone who understands the real operation, such as restaurant support for our example. A facilitator keeps the conversation moving; they should not decide every card. For distributed teams, agree on the board and the decision process before the call, as you would when managing an offshore app development team.
Build the map in passes
- State the outcome. Write what the user should be able to finish and why it matters.
- Tell the story. Walk through the task from beginning to end in the user’s words.
- Add steps. Arrange the actions across the board before debating individual features.
- Add details. Place alternative paths, exceptions and supporting stories under each step.
- Cut a release. Select a small end-to-end version, then challenge whether it really works.
- Record decisions. Capture open questions, owners and the evidence needed to answer them.
Use a short first pass to find gaps before polishing card names. If the team gets stuck debating a button, return to the task that button supports. If a disagreement depends on missing user evidence, record a research question rather than settling it through a vote.
Close by reading the selected path aloud. Ask engineering to identify dependencies and testing to describe failures. Then agree which stories need refinement next. For an outsourced build, include that handoff in the same preparation discipline used for a Ruby on Rails project checklist; a board without shared decisions is weak scope documentation.
5. Story mapping example: a food-ordering app

Our hypothetical product serves first-time customers ordering from a small set of restaurants in one area. The outcome is deliberately narrow: a customer can choose an available meal, understand the total, place an order and know whether the restaurant accepted it. Loyalty points and subscriptions are outside this initial goal.
The backbone
Find a restaurant → choose a meal → review the order → pay → follow the order → get help. Under “Find a restaurant,” place enter a delivery address, see eligible restaurants and check opening status. Under “Choose a meal,” place view available items, select options and add to the basket.
Under “Review the order,” include quantities, delivery details and the full payable total. Under “Pay,” include submit payment, handle a failed attempt and show a clear result. Under “Follow the order,” include acceptance status and an understandable next step. Under “Get help,” include finding a support route and sharing an order reference.
The first usable release
The initial slice might support a limited menu, one confirmed payment route, basic order status and human support. It could postpone recommendations, favorites, scheduled orders and live courier movement. But it cannot postpone payment failure handling merely because the happy path looks complete.
This is a proposed scope, not a universal minimum for food apps. The business must also check operational readiness, payment obligations, privacy and local rules. Map the restaurant’s actions separately if acceptance, preparation and handoff need their own workflow. Connect the two maps at shared events such as “order accepted.”
A card becomes a delivery story
For “Review total,” a story could be: “As a customer, I want to see the full amount before paying so I can decide whether to order.” Acceptance criteria should cover item quantities, applicable charges, total changes and what happens if an item becomes unavailable. Test the behavior, not whether the page contains a label called Total.
The same reasoning applies to operational software. When reviewing supply chain software features or yard management tools, map a real task such as scheduling an arrival and completing a check-in. A long capability list cannot tell you whether the full workflow works.
6. Prioritize stories and slice the MVP

An MVP is not the smallest pile of features your team can ship. For this mapping exercise, it is the smallest version that can test a meaningful outcome while giving the intended user a usable path. Define the question you want to learn about before deciding what sits above the release line.
For our example, the question might be whether first-time customers complete a paid order and receive clear confirmation. That requires measuring the ordering path, not maximizing the number of menu filters. Keep the learning goal visible next to the map.
Cut across the flow, not down one column
Building every search option before touching checkout creates a polished beginning with no ending. A thin horizontal slice might offer simple search, a small menu, basic checkout and reliable confirmation. It is less elaborate, but it can support a complete transaction and reveal where people struggle.
Use MoSCoW prioritization to discuss must-haves and deferrable options, then test those labels against the whole journey. A must-have is not simply something a stakeholder likes. Ask what breaks if it is absent and whether a workable alternative exists.
Check cost, risk and dependencies separately
High user value does not erase delivery effort. Mark dependencies and unknowns before estimating. Payment confirmation may depend on an external service; a status screen may depend on staff following an operational process. Neither can be made reliable by rearranging sticky notes.
A story map supplies context for a budget, not a price calculator. If you are estimating a delivery product, compare the scoped workflow with the factors discussed in logistics app development costs. Do not convert the number of cards directly into dollars or weeks.
Choose outcome measures such as successful completion, failure rates and time to confirmation. Review them after release. If the experiment fails, change the map; do not keep shipping the lower rows simply because they were drawn first.
7. Story mapping tools and a reusable template

Start with the simplest board your team can understand and maintain. Sticky notes work for an in-person workshop. A shared digital canvas works for remote collaboration. A spreadsheet can also work when activities form columns and stories sit beneath them. The tool matters less than whether everyone can read and challenge the plan.
Miro documents a user story mapping app for its board environment. Check current access and your organization’s settings before depending on a specific feature. This guide does not make unverified promises about free-plan limits or prices.
A task tool such as Trello or ClickUp may be useful for tracking the resulting work. That does not make a task board and a story map interchangeable. Compare your needs against our project management app directory, then test how the tool handles the user’s sequence, release boundaries and links to delivery tasks.
Copy this template into your board
- User and situation: Who is doing the task, and under what conditions?
- Outcome: What will they be able to finish?
- Start and end: Where does this map begin and stop?
- Activities: The broad stages across the top.
- Steps: The actions under each activity.
- Stories: The alternatives and detail needed for each step.
- Release one: The chosen end-to-end path.
- Unknowns: Assumptions, dependencies and research questions.
- Evidence after release: How you will judge the outcome.
If you prototype with low-code platforms, keep the map independent of the platform’s menu of components. The same applies when exploring agentic AI in software development: generated stories are candidates to review, not evidence that users need them.
8. Common mistakes and keeping the map current

The most common failure is mapping the organization’s work instead of the user’s task. Columns called Backend, Frontend and Marketing describe ownership. They do not explain how someone completes an order. Keep ownership labels if needed, but arrange the main map around the experience.
Do not map only the happy path
Add realistic failures: an unavailable item, rejected payment, delayed confirmation or lost connection. You do not need every technical exception on the main board. You do need the user-visible actions that keep someone from being trapped or misled.
Do not confuse prioritization with sequencing
Horizontal position describes flow. Vertical position supports priority or detail. A late-stage activity can be essential to the first release. Support after payment is a good example: it happens near the end, but it may be necessary for a responsible launch.
Do not treat the workshop as completion
The map must change when evidence changes. Revisit it after usability tests, scope decisions and releases. Keep one owner responsible for making the board readable, but let the team challenge its contents. Archive superseded decisions so later readers can distinguish current scope from abandoned ideas.
Connect selected stories to delivery records and acceptance criteria. Keep technical and operational dependencies visible. The collaboration described in DevOps does not stop at deployment; a released workflow still needs monitoring and a response when it fails.
If you bring in outside help, clarify whether you need product discovery, implementation or broader advice. Our explanation of software consulting versus IT consulting can help frame that conversation without treating every advisory service as the same thing.
Before approving a slice, ask: Can the target user finish? Have we included important failures? What evidence supports the scope? What remains unknown? Those questions are more useful than checking whether the board has enough colored cards.
9. Story mapping FAQs
Is a story map the same as a user story?
No. A user story describes a particular need or piece of value from a user’s perspective. A story map organizes many actions and stories so the team can understand how they fit into an experience. During a workshop, cards can be short phrases such as “Confirm delivery address.” Selected cards can later become fuller stories with benefits and acceptance criteria. You do not need to write every card in a rigid sentence format before discussing the user’s flow.
Is story mapping required by Scrum?
No. The Scrum Guide defines the Product Backlog and its commitments, but it does not require story mapping. A Scrum team can use a map to understand context and refine work while keeping its backlog as the ordered source of product work. Avoid maintaining two competing priority lists. Agree how map decisions reach the backlog and which record governs a delivery decision.
Who should take part in story mapping?
Bring people who understand user needs, design, engineering, quality and the business operation. The exact group depends on the workflow. For food ordering, someone who understands restaurant acceptance and support adds knowledge that a screen designer may not have. User research should inform the session even when users are not present. A single product manager can prepare a starting map, but the team should challenge it before treating it as shared scope.
Can you use story mapping for an existing product?
Yes. Map the current experience first if the team does not agree on how it works, then mark pain points and proposed changes. Keep current behavior and future ideas visually distinct. Otherwise, readers can mistake an aspiration for a feature that already exists. Start with one troublesome workflow rather than attempting to document every screen. Support tickets, observation and usability tests can help identify where the first map will be most useful.
How long should a story mapping workshop take?
There is no single reliable duration for every project. A small workflow with good evidence may need a short session; a multi-role product may need several passes with research between them. Set a scope and a decision goal rather than promising a complete map in an arbitrary time. If the discussion produces too many unknowns, stop expanding the board and assign the research needed to continue. More workshop time cannot replace missing evidence.
How do you know the first release is small enough?
Read the selected path from start to finish and ask which stories can be removed without breaking the outcome or creating unacceptable risk. Then check effort and dependencies with the delivery team. The goal is a usable experiment, not a deliberately frustrating product. Keep necessary support, security and failure handling in scope even when they are less visible than headline features. If the slice is still too large, narrow the user group or situation before cutting away an essential step.
What should happen after the map is saved?
Refine the selected stories, link them to delivery work and record the open questions. Test the intended experience before investing heavily in it, then review actual results after release. Keep the map current enough that someone can use it to explain what the product supports today and what is being considered next. The finish line is a better user outcome, not a tidy board.
Sources and method
This guide combines the method references below with an original, hypothetical food-ordering example. Illustrations explain the concepts and are not screenshots of a working product. Tool access, prices and plan limits should be checked with the provider before purchase.